Saturday, 31 May 2014

Your Cards in 3D - no silly specs required!


Here are some of the cards made at the 3D workshop on Wednesday - along with some work in progress shots. The first cards shown here were made using the Sizzix Accordion die. As you can see it lends itself to a variety of occasions.


The star card - made from a triangle shape cut out of a 12 x 12 sheet of card - adds an interactive element for the receiver of the card. Click here to view a tutorial.


And finally the concertina pop out card, made from two scored square card blanks, is perfect for decorating for that special birthday or Anniversary. It's easy to score your own or you can buy the kit from pre-scored kit from Craftwork Cards.


Monday, 26 May 2014

Taking it to another dimension

At this month's workshop the theme is 3D/shaped cards. Kay will be showing you how to make a star card out of 12 x 12 card, with a few clever folds. Could even be your first Christmas card for 2014! But it doesn't have to be!


Michelle will be showing you how to create an accordion style card using a Sizzix die.


Don't forget to bring your "Showcase a stamp you like and a stamp you don't" project pages to be in with a chance of a free workshop.

I will see you in June. Have fun!

Thursday, 8 May 2014

Top tiles...


A big thank you to Kay and to Sue who did our demos last week. And very well done to Sue on her first demo for us at the club. Our theme was "Not simply stamping" so both techniques focused on using stamps in a slightly different way. The layered stamp technique is demonstrated below.


In this example two squares of white card have been cut to different sizes. The smaller square has been stuck down in the centre of the larger square using low tack tape or low tack glue. The stamp was then inked up and stamped down on to both pieces of card.


The result is as shown in this picture. The depth of the card, although not very thick, creates a white border around the smaller square where no ink is stamped. It can be left as it is...


...or both pieces can be matted and mounted on to a card blank, creating the effect of layering the stamped image. Gives a great monochrome effect when the card is matched to the ink colour too.


More examples of the technique and the completed cards. Love the black and white!


The technique can also be applied to printed papers - doesn't have to be restricted to stamping.


Sue's demo focused on creating a tiled effect from stamped images, either by stamping the image, cutting it up and then mounting it on backing card...
...or by first scoring your card in a tiled pattern and then stamping your image over the top. This worked brilliantly on the pearl glossy card. Sue also demonstrated how to use a cut out spare tile piece to mask the stamped tiles and ink up the edges with distress ink to give a shaded 3D effect to each tile.


The feather stamp worked really well and proved to be quite popular.


Tuesday, 29 April 2014

Not Simply Stamping

Our techniques on Wednesday both involve stamping, but it won't be a case of stamping and mounting the images. We will have two demos as usual on Wednesday - one led by Kay and one led by Sue. Kay will be showing you how to layer a stamped image to give a 3D effect to your stamped cards.


Sue will be showing you two different ways to achieve a tiled effect, with your stamped images.

Cut tiles
Scored tiles
The results are in for last month's challenge too - as voted by you! They will be announced after a long pause and drumroll on Wednesday!! See you there.

Monday, 31 March 2014

Bunnies, bags, boxes and book page challenge


Just a selection of the many bunny Easter cards made on Wednesday using die cut shapes.


And the Easter bags and boxes - handbags were particularly popular.


For demo notes on how to make the Easter Bunny Box or Gift Basket, click here. For the handbag click here.

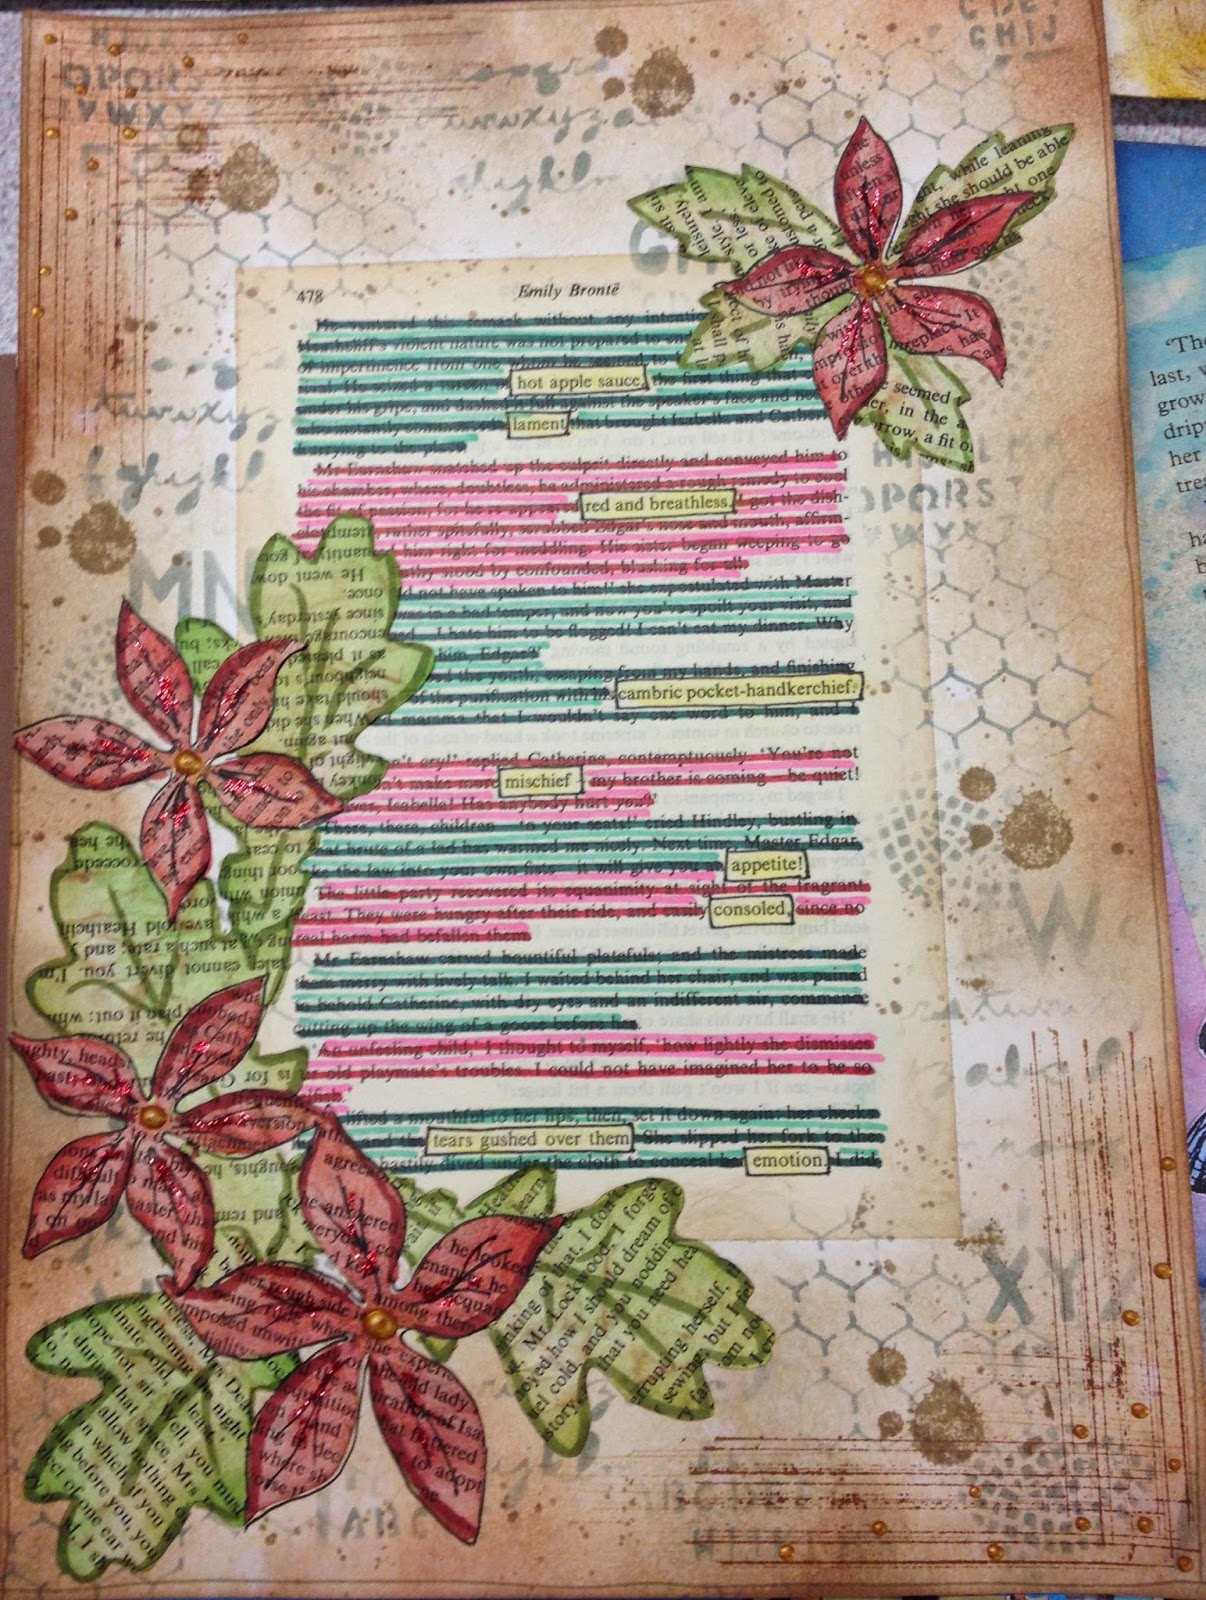
Michelle and I are still deliberating over which book page to choose for our Challenge this month. It is always so difficult to choose so we thought we would have a "People's Choice" vote. Send me a reply to the email notifying you of this blog update and let me know your top 3 entries by specifying the letter shown below, next to your three favourite entries - eg A, B, C. You can still vote even if you didn't enter. You may only vote once and do not vote for your own! We will tally them up and the one with the most votes will win free entry to the next workshop. In the event of a tie Michelle and I will cast the deciding vote(s). Well done to all who took part and we will announce the winner at the next workshop.

A

B

C

D

E

F

G

H

I

J

K

L

M

Tuesday, 25 March 2014

Easter treats


Tomorrow's workshop will feature two demos as usual - one being making Easter gift baskets and boxes and the other being making Easter cards. 

The gift box and basket (below) are both made from the same basic starting point and can be adapted for other occasions. In fact the same technique with a few more tweaks can be used to make a handbag gift bag - handy for Mother's Day.


Die cut circles and ovals will be used as the basis for the Easter Cards, with a chance to try die cutting felt shapes too, for fluffy chicks either on cards or 3D stand up chicks.


Don't forget to bring your "Dec. this Journal" book page projects for judging too - for the chance of free workshop entry.

And the rest of 2014 looks like this, based on your ideas pinned to Pinterest.
  • March 26th - Easter cards and gift boxes
  • April 30th - Not simply stamping
  • May 28th - 3D/Shaped Cards
  • June 14th - Ashtead Village Day
  • June 25th - Alcohol inks and markers
  • July 30th - Powders and Pastels
  • August 27th - Heating/melting
  • September 24th - How long is a piece of string?
  • October 29th - Christmas make your own stamps
  • November 12th (Scout Hut) - Christmas origami wreaths and gift boxes/envelopes
  • November 26th - Quick Zentangle/doodle Christmas cards
Summer Village Day competition - 3D card challenge - due in before Village Day
End of Year competition - "Dec this Journal" - due in 12th November
Saturday workshops - dates to be arranged