Thursday, 24 October 2013

Throw it all into the melting pot and see what happens...

This month Kay will be demonstrating how to make Christmas cards and decorations using chipboard and UTEE in the melt pot.


Michelle will be keeping the Christmas decoration theme going with her demo too,  so Wednesday will be a good chance to get ahead with your decoration challenge. Don't forget to checkout our Pinterest Christmas Decoration board for more inspiration.

Monday, 14 October 2013

Juan Sheet Part Dos...

Today at Tadworth we made gift bags and matching cards out of one sheet of 12 x12. Here are some of the results:


To make the gift bag first cut 4 inches off one side of the 12 x 12 paper. This can be put aside and used to make your cards and gift tags. Draw out the template as shown below. Click on the picture to enlarge and see the measurements. For instructions on how to fold the bag click here for a video tutorial.


For more One sheet templates click here to see examples on our Pinterest board.

Thursday, 10 October 2013

Mod Podge Mania

Lots of sticky fingers on Saturday as we pretty much Mod Podged everything in sight!! I only have a few photos below, but we were Mod Podging chipboard books, glass tea-light holders, Jenga blocks, clothes pegs, card boxes, tins, glass bead magnets. There were also a few Mod Podged mirrors, but hopefully we will see them in our altered mirror competition so no photos of them yet.


Where will it all stop!!

Wednesday, 2 October 2013

Saturday Craft Workshop

Don't forget our workshop this Saturday at the Scout Hut, Ashtead. We will be making hand made gifts for Christmas, using decorative paper and Mod Podge to alter items. Stocking filler gifts will also be available to make.


Workshop Costs:

  Half Day (10am-1pm or 1pm-4pm) - £6 Members, £7 Non-Members

  Full Day (10am-4pm) - £10 Members, £12 Non-members

Items to alter can be purchased on the day for a small additional cost or you may bring your own.

Click here to contact us and book in

Sunday, 29 September 2013

Juan, Noel and a couple of cheeky penguins...

Here are some of the cards produced from the One Sheet wonder technique on Wednesday. My new Noel die was popular too. For template ideas for your "Juan Sheet" Christmas cards check out our board on Pinterest.


Michelle's chirpy penguins were popular too, as were her other die cut ideas. See below for interpretations of her designs.


We also judged the latest bi-monthly craft challenge which was to create a new card from an old card. It is always a tough choice, but we both liked the way Mandy used several cards and a holly punch to create her wreath. The different shades of green chosen help to add depth to the wreath. In particular we liked how she had used the front of a 'window card' as a stencil to create her own window on her new card. See pic below


And here are the other entries to show what a tricky choice we had:


A lot of work went into this one and we liked the clever use of the old card as the view from the window. The robins on the window ledge were also from the original card.


We liked the new layout of this card, using selected elements from the original, and the coordination of the colours with the matting and layering.


Cute picture chosen for this card with careful use of repeated, doggy-themed stamping to create the border.


This card was neatly presented and excellent layout. We also liked the interactive nature with the penny spinner element.

Well done to all and hope you have already started to think about your new challenge - a Christmas decoration for a Secret Santa type swap at the November workshop.

Tuesday, 24 September 2013

Juan Sheet!!

So tomorrow's workshop - CHRISTMAS!!!! No getting away from it now the shops have got Christmas stuff in. So tomorrow one of our demos is a challenge demo - make a set of Christmas cards out of one sheet of paper - (not "Juan Sheet" of the Plenty Kitchen Roll advert as the title suggests!) Choose your background paper, decide how to cut it up to get maximum usage, jazz up the paper a bit if you like, then add embellishments and greetings. Job done and Christmas cards started - (next year's for you Mandy!!)


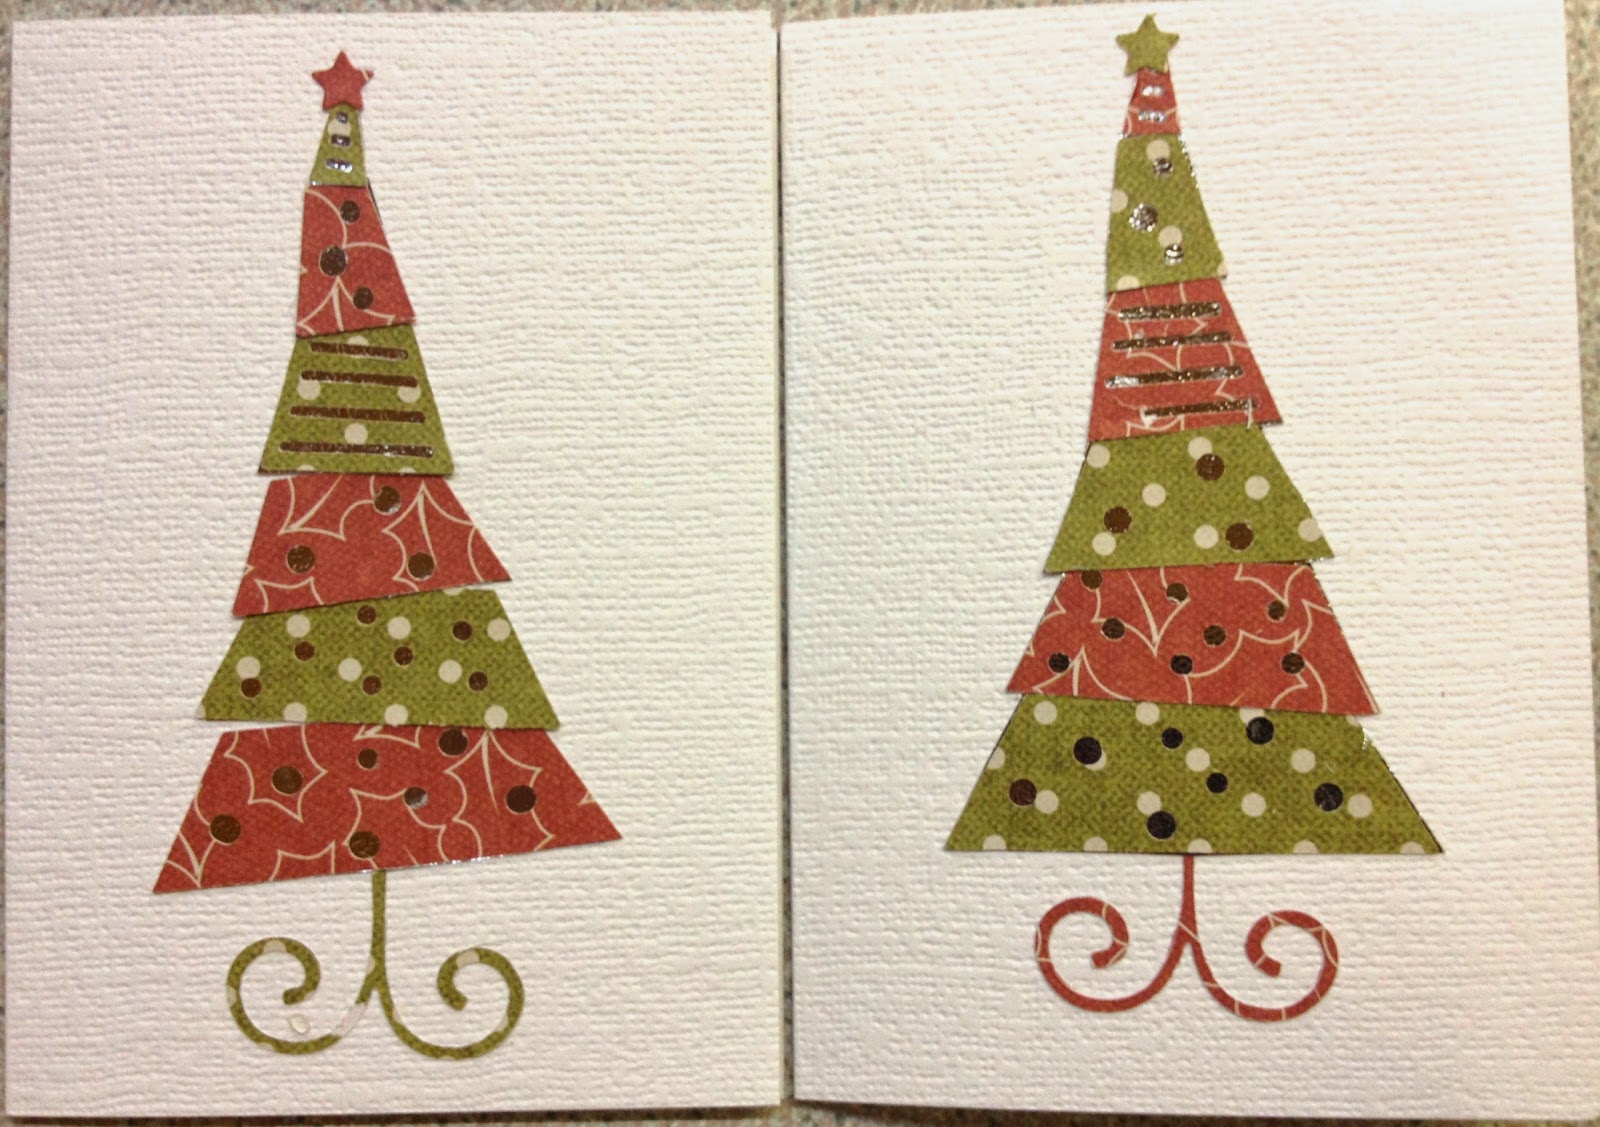
The second demo will be punch art/die cut cards using basic shapes as a starting point for Christmas themed cards like the tree below. 


Also don't forget to bring your challenge cards this month - new card from old. And we will have a new Christmas take home challenge for you too.

Hopefully your altered mirrors are coming along well for the Christmas competition too. If you haven't had chance yet you might want to come along to our Saturday workshop on Saturday 5th October. We will be making items suitable for gifts for Christmas using scrapbook papers and Mod Podge. This is a technique that works well with the mirrors and many other things. Other projects could include coasters and table mats, washer necklaces, tins, glass vases, card organiser boxes, Countdown to Christmas decorations etc. Mod Podge mania!!


Some of the projects are quicker than others so both full and half day workshops will be available again.

Workshop Costs:

 Half Day (10am-1pm or 1pm-4pm) - £6 Members, £7 Non-Members

 Full Day (10am-4pm) - £10 Members, £12 Non-members

See you tomorrow.

Friday, 6 September 2013

Metal effects photos

The cards below were all made using blank scraper foil sheets. Both backgrounds and embellishments can be created by first embossing the background or die cut shape using embossing folders through the Cuttlebug or similar. The raised design can then be sanded to reveal the inner foil of the scraper board.


The other metal technique we explored was using metal tape - the kind found in most hardware stores. We covered card with the tape then die cut shapes. You can then colour the shapes with various combinations of alcohol inks and emboss designs on to them using the embossing folders. We also took this one step further by inking up the raised designs with archival ink pads. Before the ink dries it can then be rubbed off with an old facecloth, removing the alcohol ink from the raised design and making it 'pop' out by revealing the silver tape again.