Showing posts with label step by step guide. Show all posts

Sunday, 2 June 2013

Stencil mania

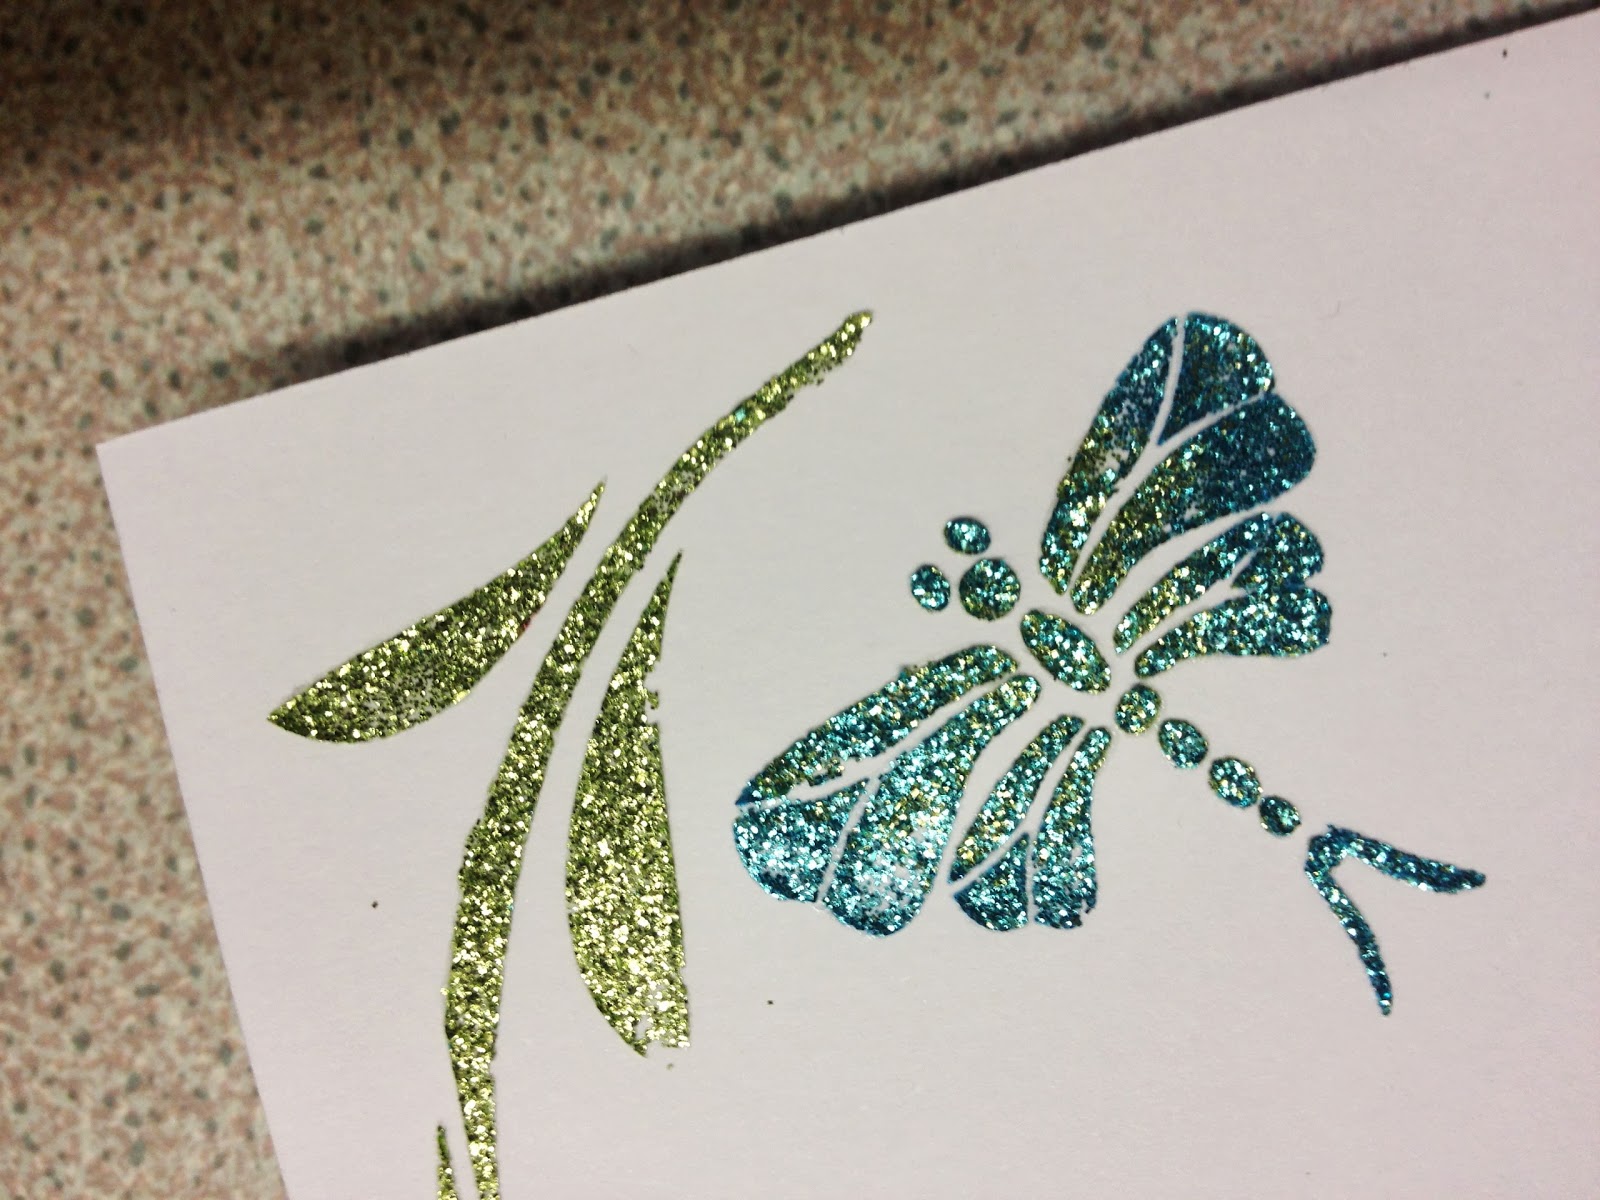
A very productive evening on Wednesday with lots of cards created and lots of photo opportunities. So here goes - stencils and glitter paste first! For a step by step guide on this technique click here.


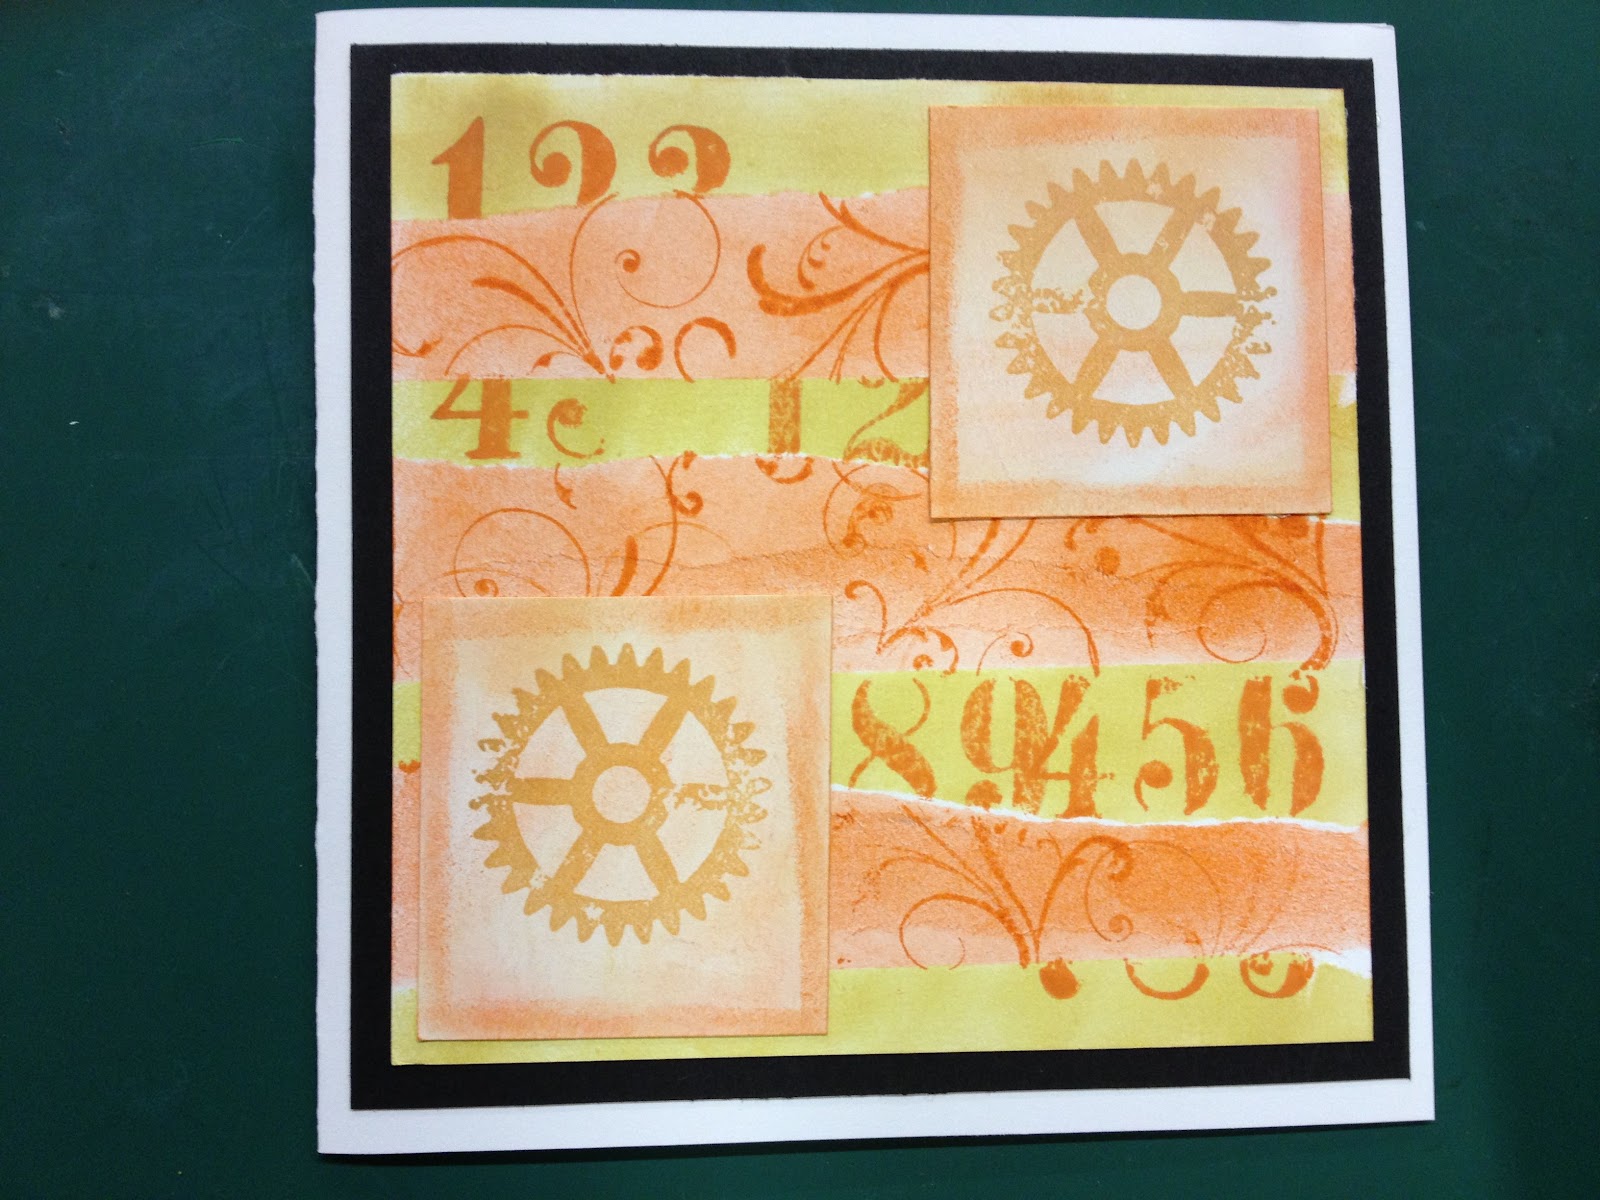
And now stencil bumping...For a step by step guide as to how to achieve these results, click here.


Wednesday was also the deadline for our humorous card challenge. Michelle and I found it very difficult to judge once more, but we had to make a decision!

Our winning challenge card was created by Carol S. She wins free entry into our next workshop - well done Carol! The caption reads "If I knit fast enough does it count as aerobics?"!! We loved the attention to detail, the humorous crafty reference and the hand knitting on cocktail sticks!


We had a tough choice with choosing just one winner again, so we chose a runner up who will receive half price entry to the next workshop. Linda W. is the worthy runner up. Not sure if this is a wedding or a divorce card!! Loved the sheet music to go with the caption "Another one bites the dust!"

And not forgetting our other entries of course which did make us chuckle and some were even a bit cheeky!!

 "Now remember ladies the secret of a long and happy marriage is early to bed and up with the cock!" 


"Madame President, where's the jam?"
 "Pinterest Anonymous were on their first outing. But Clarabelle had concealed her iPad under her hat"

 "Good girls go to heaven. Bad girls go everywhere!"
"Mine's a Pint!"


"Come in No. 9. Oops! No. 6 are you in trouble?"


Tuesday, 2 April 2013

Stamping workshop photos

Well here are some of the results of our "Stamping with a twist" workshop last week. Below are the masking tape technique cards. (Click here for step by step instructions). I love the way different colour combinations have been explored with these designs.


With the stamping through a paper mask technique (step by step coming soon!) lots of different floral designs were experimented with on the Easter Eggs, and other finishing touches such as embossing and glossy accents were added. Kay P also used the reverse masking technique with her heart design.


Michelle and I had a very difficult job indeed with judging the Envelope Memory Book Challenge. The entries were all very different, personal and very impressive! In the end we chose two worthy winners.


Rachael B for her two entries (one for each of her sons as she couldn't do one without the other!)...gorgeous mementoes of days out with her boys with good use of bright colours, photos, tickets, embellishments etc.


And Carol S for her "Garden Memories" book. She made good use of the pockets too with photos, quotes, memoirs etc documenting her feelings, thoughts and memories of her grandparents' garden. Even a photo of herself aged 2 or 3 - we could tell it was you when you pointed it out Carol!


Well done to both of you - one free workshop entry for each of you. And well done to everyone else who took part. 

Our next challenge is due in May. If you didn't pick up a stamped image and would like one to make a "Humorous Caption Card" then please let me know before the next workshop so we can stamp some out ready. You don't have to use those images, but the card must be humorous. Can be as cheeky as you like!

You will notice there are now links to Pinterest in two places on our blog. (below the Challenge posting and below the Crafty Inspiration listing) If you follow either of these links you will see a pin board with some examples of humorous quotes. Feel free to use any of these that you feel are appropriate or just use them for inspiration for your own.

Check it out and let us know what you think!

Tuesday, 5 March 2013

Envelope book challenge


I promised I would upload the pictures of my envelope memory book now it is finished. I used mine as a birthday card for my daughter. She turned 11 last week so I included pictures from all her previous birthdays and added a sentiment to go with each photo. I still have to add one on the back from her 11th birthday to complete it. She loved having the photos in the pockets and has said she will "keep it for ever!"

Hopefully your books are all well under way. If not don't forget you can see demo notes on the side bar or click here for instructions on how to set up a basic envelope book. You can then mat and layer in papers of your choice. What you then use it for is up to you but if you are stuck for ideas here are a few starting points:
  • Memory book - birthdays, special days, anniversaries, wedding photos etc.
  • Scrapbook/souvenir book - keep tickets or special memories in the pockets
  • Baby book - keep locks of hair, hospital birth tags etc in the pockets
  • Journal - add diary entries or memories in the pockets
  • School trip memento book for kids
  • Gift for a teacher with notes from the children...
Lots more ideas I am sure!! Don't worry about adding personal photos. It doesn't matter if we can identify who made each book. We always try to be as objective as possible when choosing the challenge winner. We will look at layout, choice of colours, the overall finish etc.

Look forward to seeing your creations at the March workshop on Wednesday 27th.

Friday, 16 November 2012

Christmas Decorations galore


First of all a big well done to everyone who entered the Christmas decoration competition. It was fascinating to see what amazing creativity you all have. All the decorations below began life as a household object. They have had all manner of crafty bits added to them. They have been collaged, folded, painted, glittered, glued etc and now have a new lease of life as Christmas decorations!!

1. Angel - made using bubble bath container, pan scourer and bottle tops

2. Green decoration - made from plastic bowl

3. Red and green decoration - made from ribbon reel

 
4. Angel - made using a wooden spoon

5. Garland - made from toilet roll tubes and napkins
Close up of garland 5.(above)
6. Handprint Wreath - made on a polystyrene pizza base

7. Christmas tree - made out of pages from Sunday supplement magazine

We'll be announcing a winner and runner-up at the next workshop on 28th November.

Our temporary move to the Scout Hut on 14th November proved to be very successful and all went very smoothly. Thank you to everyone who helped us to set up and tidy away. Your support was really appreciated.


Thanks to our efficient set up and prompt start we got a lot done on Wednesday. Kay's kitchen roll snowflakes went down a treat, even if there were some messy "glitter girls" on her table! I still don't think it is possible to glitter without creating mess anyway. I just hope the floor wasn't too messy the following morning for polling day! I'm sure we had used all colours of glitter so we didn't favour any one candidate!! (even if it only looks like two were represented from the photo below!)


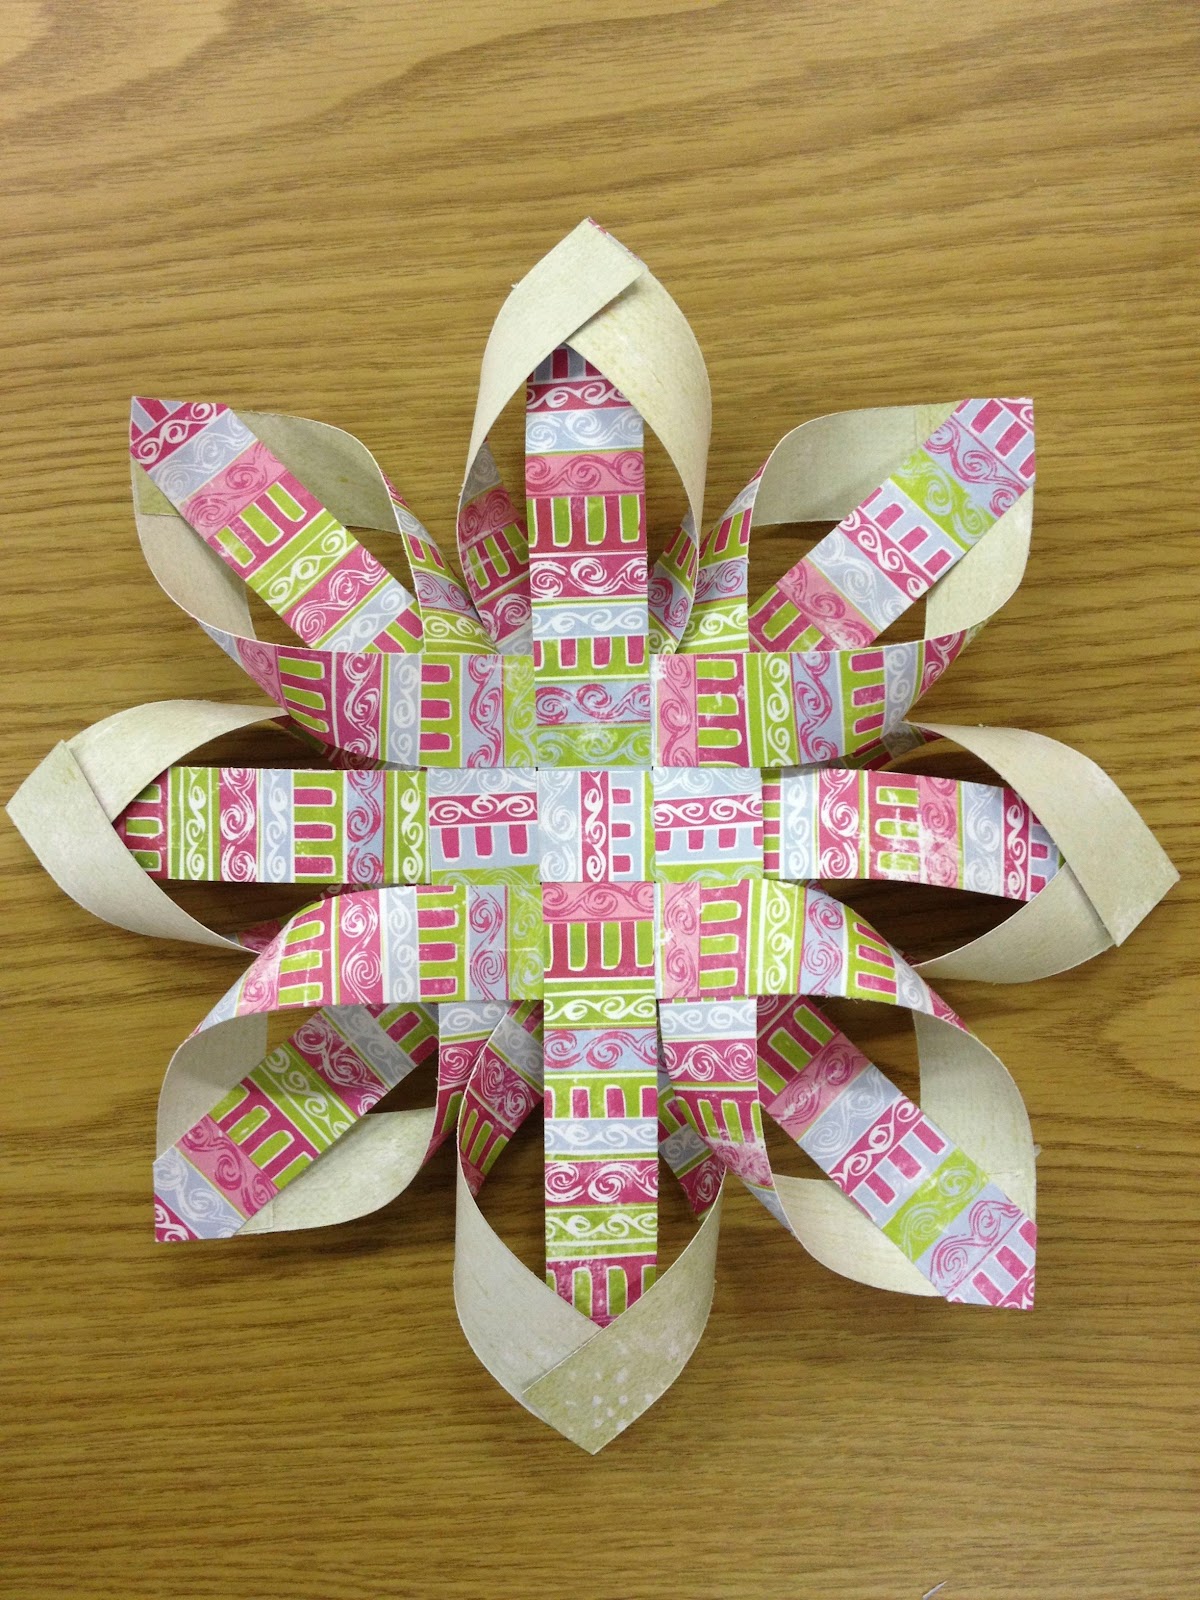
The paper Finnish stars and 3D snowflakes were less messy, but perhaps slightly more intricate. Some good results were achieved all round with these too.


For demo notes on Finnish star click here.


For demo notes on the 3D snowflake click here.


And one or two Gingerbread men sneaked in along the way too!

You might all be interested to know too that we are featured on the Christmas Pie Crafts blog today! You may remember some time ago I sent you a link to Jill's blog when she was running a competition for World Cardmaking Day. (I entered a couple of my floral design cards and won a prize!) After that Jill invited me to be a Friday guest blogger. So have a read and see if you recognise any of your handiwork on the photos!

Less than two weeks to our next workshop. Details will be revealed soon, but don't forget to bring your charity raffle prizes.

See you then.